Returning to academia as an adult presents unique challenges, chief among them being the financial implications. For those seeking innovative ways to finance this venture, the realm of real estate, particularly flipping houses, emerges as a compelling strategy. By harnessing the potential of property investments, not only can adults secure funding for their education, but they can also craft a sustainable source of income for the future. Read on for some insights from Patrick’s Painting.
Craft a Comprehensive Plan
Venturing into house flipping without a robust plan is akin to sailing without a compass. A meticulously crafted plan, encompassing budget estimates, renovation scopes, and anticipated market trends, provides a guiding light. Incorporating contingencies for unexpected hurdles or market shifts further strengthens this plan. By setting milestones and regularly revisiting this roadmap, investors can adjust their strategies in real-time, ensuring optimal resource allocation. This dynamic planning approach mitigates risks and paves the way for success, both academically and financially.
Inspect Properties Thoroughly
Understanding a house’s foundational and superficial issues is pivotal. FastExpert notes that comprehensive property inspections reveal hidden challenges, be it structural weaknesses or outdated plumbing. With this insight, investors can gauge the scope of renovations, thus avoiding unforeseen expenditures down the line. Additionally, an accurate evaluation can strengthen negotiation positions, potentially leading to reduced acquisition costs. In essence, a rigorous inspection sets the stage for informed decision-making and optimized returns on investment.
Digitize Real Estate Documents
In today’s digital age, streamlined operations are a game-changer. By digitizing all real estate paperwork, investors ensure swift access to pivotal data. You can use optical character recognition (OCR) software to extract text from images easily and to deploy OCR to save documents as PDFs. This digital shift eliminates manual searches through extensive files, promoting efficiency and reducing potential oversights.
With cloud-based solutions, access to these documents becomes possible from any location, facilitating seamless collaboration and decision-making on the go. Additionally, leveraging digital platforms can lead to better organization, categorization, and even automated reminders for crucial deadlines or renewals. Furthermore, secure digital storage safeguards against document loss or damage, offering peace of mind and enhancing operational robustness.
Prioritize Undervalued Properties
The cornerstone of profitable house flipping lies in the acquisition phase. By pinpointing distressed or undervalued properties, investors carve out substantial profit avenues. Beyond auctions and estate sales, networking with local real estate agents can uncover lucrative deals. Familiarizing oneself with regional property trends and being receptive to off-market opportunities can further widen the net of potential investments.
It’s also advantageous to build relationships with property evaluators, ensuring that each acquisition is a calculated decision rooted in real-time market dynamics. These acquisition strategies, when coupled with sound market research, establish a buffer against unplanned renovation costs and market fluctuations, bolstering the venture’s overall profitability.
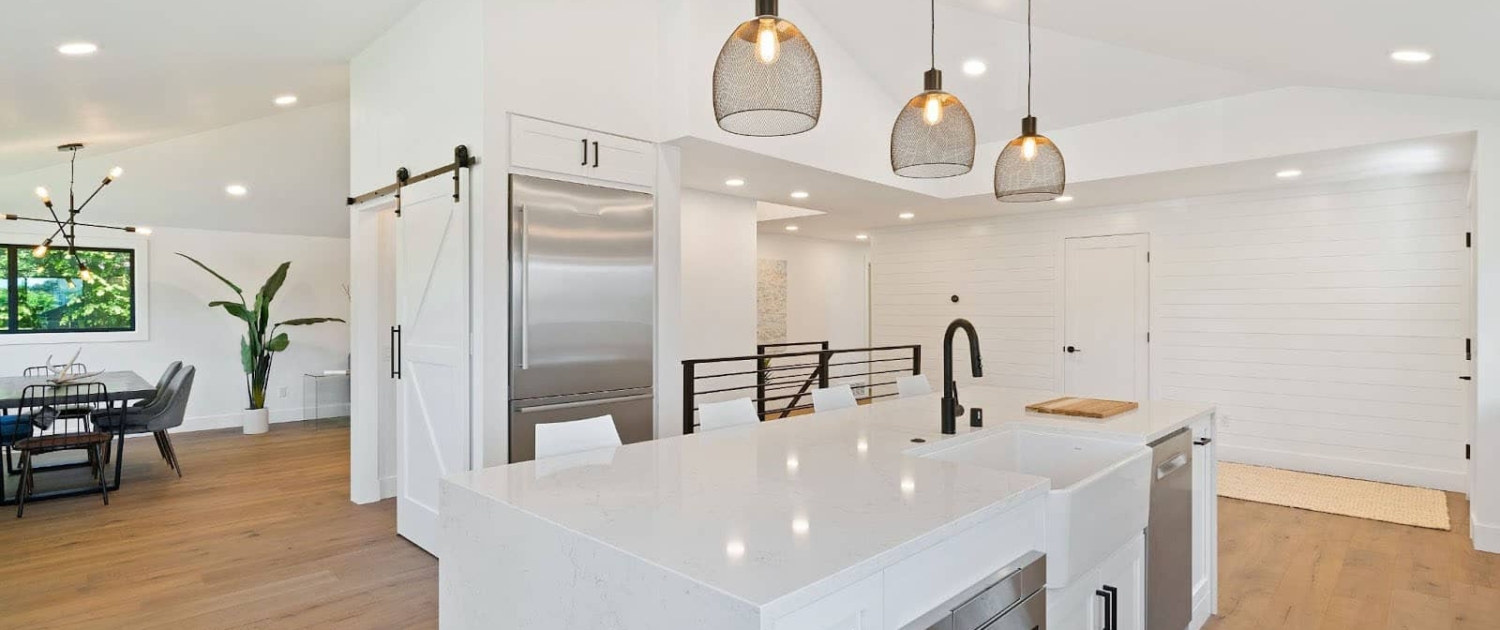
Elevate the Kitchen
Transforming a kitchen can dramatically elevate a home’s appeal. Beyond aesthetic enhancements, consider updating fixtures or introducing energy-efficient appliances. Integrating smart kitchen technology, such as touchless faucets or programmable cooktops, can further enhance functionality and appeal. Spatial reconfiguration, if feasible, can also optimize the flow and usability of the space.
These additions not only charm potential buyers with modern amenities but also promise long-term savings and sustainability. Furthermore, a well-designed kitchen resonates emotionally, painting a picture of family dinners and festive gatherings, making the property even more enticing.
Tailor Renovations to Attract Potential Buyers
Every house tells a story, and curating this narrative effectively can be the difference between a quick sale and prolonged market listing. Recognizing the predominant buyer demographic for a given neighborhood and tailoring renovations accordingly is paramount. Stucco.com points out that staying updated on current design trends and buyer preferences further refines the property’s appeal.
Additionally, understanding and incorporating eco-friendly or sustainable features can attract a broader audience in today’s environmentally conscious market. For instance, properties in serene locales might beckon retirees, warranting designs that emphasize comfort and accessibility.
Conversely, urban dwellings might be more appealing to millennials, where tech integrations and modern aesthetics take precedence. By weaving a compelling story through design, investors can capture the imagination of potential buyers, ensuring their property stands out in a competitive market.
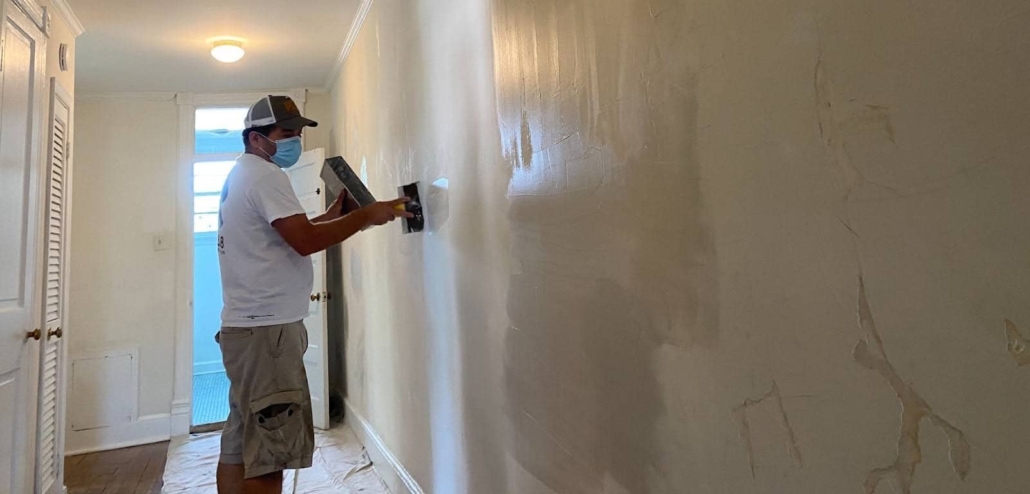
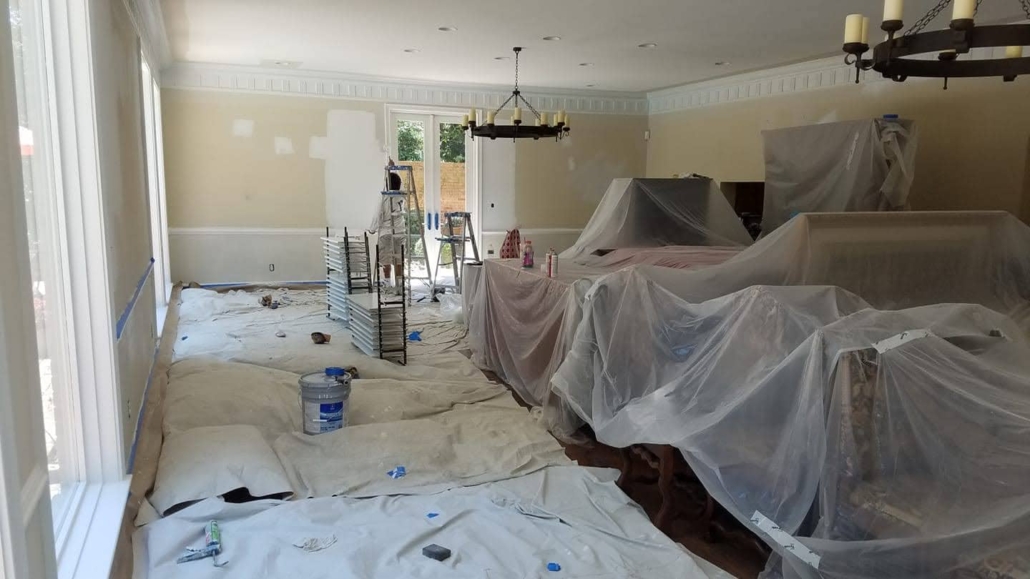
Add a Touch of Paint
Painting is a highly effective and transformative aspect of home renovations, offering numerous benefits. Firstly, it’s one of the most cost-effective ways to revamp a space, providing a significant visual impact at a relatively low cost compared to other renovation projects. Painting can dramatically alter the appearance and ambiance of a room, enabling homeowners to keep up with current design trends or personalize their space according to their tastes.
Additionally, the right choice of paint can enhance the lighting of a room, making spaces feel more open and inviting. From a practical standpoint, painting serves as a form of protection for surfaces, safeguarding walls from moisture, dust, and wear over time. It can also improve indoor air quality by covering old paint that may contain lead or other harmful substances.
Furthermore, a fresh coat of paint often increases the value and appeal of a home, making it more attractive to potential buyers if the homeowner decides to sell. In essence, painting is a versatile and impactful tool in home renovation, offering aesthetic, practical, and economic advantages.
Collaborate for Success
The journey of house flipping, while rewarding, can be intricate and demanding. Pooling resources and expertise with a trusted partner can significantly lighten this load. Such collaborations not only amplify financial capacities but also introduce diverse perspectives, enriching the overall strategy.
Establishing clear communication channels and setting mutual expectations from the outset can further cement the partnership’s foundation. Additionally, joint ventures may open doors to larger projects or opportunities otherwise unattainable individually. Furthermore, shared responsibilities ensure continuous progress, even when one partner is immersed in academic commitments. In essence, collaboration magnifies strengths and offsets individual limitations.
Balance Your Time by Earning an Online Degree
Pursuing education while delving into real estate necessitates a harmonious balance. Earning an online degree emerges as a viable solution to this challenge. These platforms facilitate asynchronous learning, granting the flexibility to renovate during daylight and study post-sunset. For example, you could consider exploring the aspects of a cybersecurity degree. This degree will educate you on safeguarding a company’s computer and network systems.
Furthermore, online courses often offer the added advantage of integrating diverse global perspectives, enriching discussions and broadening worldviews. Moreover, digital resources, forums, and peer interactions amplify the online learning experience, allowing students to engage deeply without compromising their real estate ventures. The adaptability of such courses ensures that students never feel confined by schedules, granting them the autonomy to prioritize tasks as needed.
Returning to school as an adult, though a commendable pursuit, is fraught with complexities, especially on the financial front. Balancing tuition fees, study materials, and living expenses can seem overwhelming. Yet, with the strategic approach of flipping houses, an avenue often overlooked, these financial hurdles can be transformed into stepping stones towards academic and financial growth. This unique convergence of education and real estate investment empowers adults to not only further their academic aspirations but also build tangible assets. By intertwining the worlds of real estate and education, adults can craft a promising trajectory for their future endeavors, ensuring a dual return on investment – knowledge and capital.
Curtis Fisher

 Image: Freepik
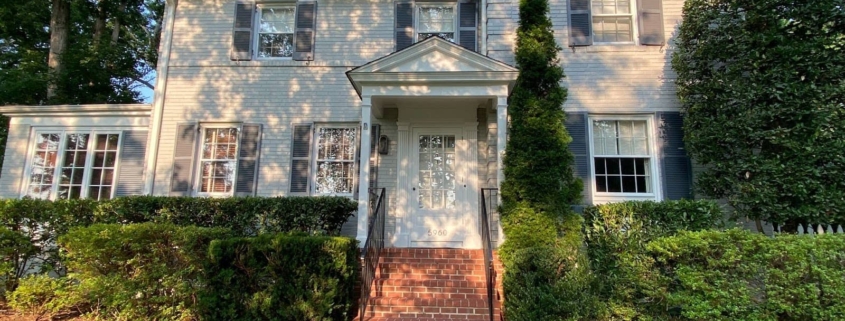


 https://unsplash.com/photos/178j8tJrNlc