Transform Your Bedroom: 10 Steps to Painting Like a Pro
Starting on the journey of painting a room isn’t just a task for those entering the realm of DIY, new homeowners seeking to add their personal touch, or seasoned home improvement enthusiasts refining their craft—it’s an art form. The process is not only painless and budget-friendly but also forgiving, allowing room for adjustments if needed. Yet, before you pick up that paint roller for your first stroke, a well-crafted plan is essential. Drawing from 16 years of expertise, Patrick’s Painting is your companion for transforming your bedroom with a splash of color. Continue reading to discover the key steps, ensuring your room-painting project evolves into a masterpiece of your own creation.
Step 1: Picture Your Perfect Space
Imagine your room’s final look – dream big! Think accent walls, eye-catching shades, and a ceiling that steals the show. Your vision sets the tone for a painting project that turns heads.
Step 2: Choose a Color and Paint Finish
Discovering the right colors and finish is an adventure, not a chore. Warm or cool? Muted or vibrant? Gloss finish or matte finish? Consider your furniture and art. Use cool tech tools to preview colors online, but nothing beats slapping real samples on your walls.
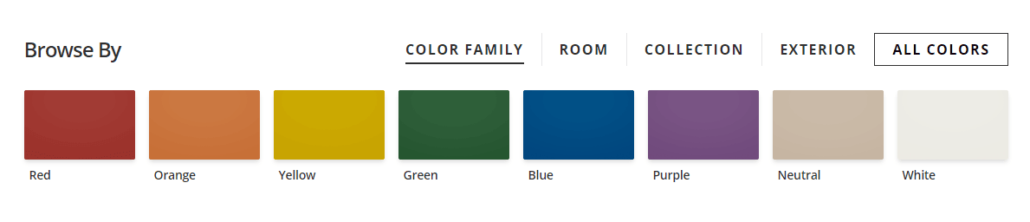
Delve into the inspiring world of Sherwin-Williams’ color palette. Explore a range of options and consider the psychological impact of colors. For a serene ambiance, explore soothing tones like “Sea Salt.” Alternatively, for a touch of sophistication, venture into deeper hues like “Urban Bronze.” Let your personal style shine through as you select colors that resonate with your vision.
A glossy finish stands out as the most light-reflective among paint options, boasting easy washability. Ideal for enhancing wood trim, cabinets, and doors. Matte and flat finishes absorb light instead of reflecting it, making them well-suited for walls with imperfections. These finishes are particularly effective for bedrooms, uneven walls, or walls with texture.
BONUS: You can book a free virtual color consultation with Sherwin Williams.
Step 3: Prep Your Tools
Time to assemble your painting squad – the tools that turn you into a DIY maestro. Here’s what you’ll need:
- Paint
- Paint roller
- Paint roller extension pole
- Drop cloths
- Paintbrushes
- Paint tray
- Sandpaper
- Painter’s tape
- Rags
- Putty knife
Step 4: Know Your Paint Volume
Skip the guesswork. You can use paint calculator from Benjamin Moore to figure out how much paint you really need. The general rule of thumb is one gallon per 400 square feet. Adjust for color changes and textured walls – you’re in control.
Step 5: Set the Stage for Perfection
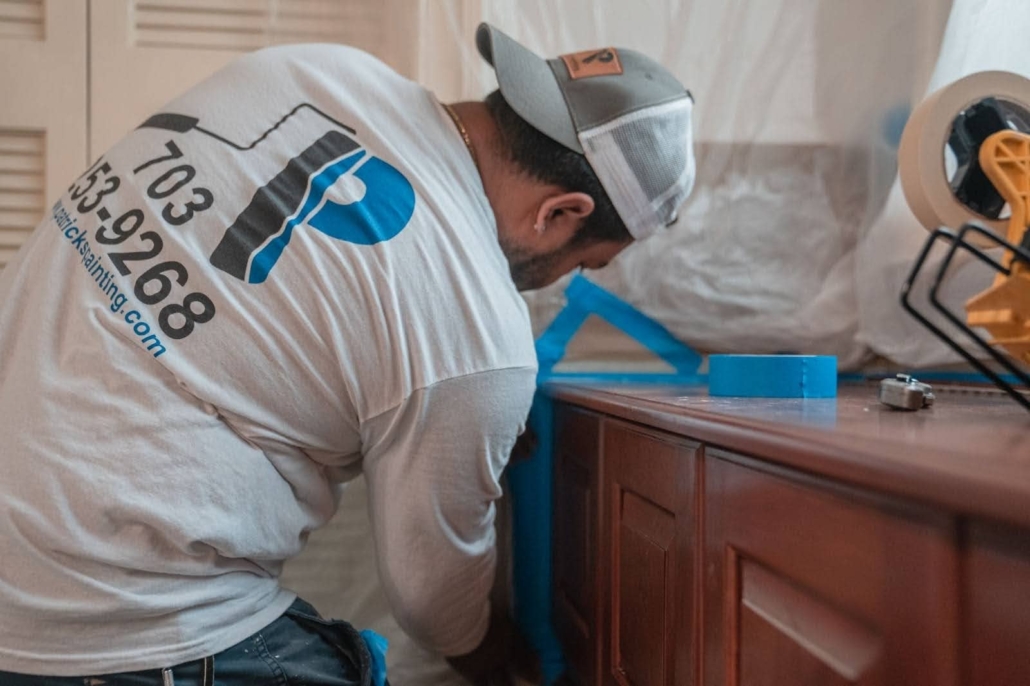
Prepare your room like a pro. Clear the decks, protect your furniture with drop cloths, and use painter’s tape strategically. Secure masking paper or rosin paper to the floor and carpet alongside the baseboards to shield them from potential paint splatters and spills. Cover the floor and any furniture in the painting area with a drop cloth. Opt for fabric drop cloths as they provide better traction compared to plastic ones, reducing the risk of slipping.
Fix those wall dings – we’re aiming for flawless!
Pro Tip: Ensure ample lighting while painting, with natural daylight being the optimal choice.
Step 6: Clean or sand all the surfaces then patch
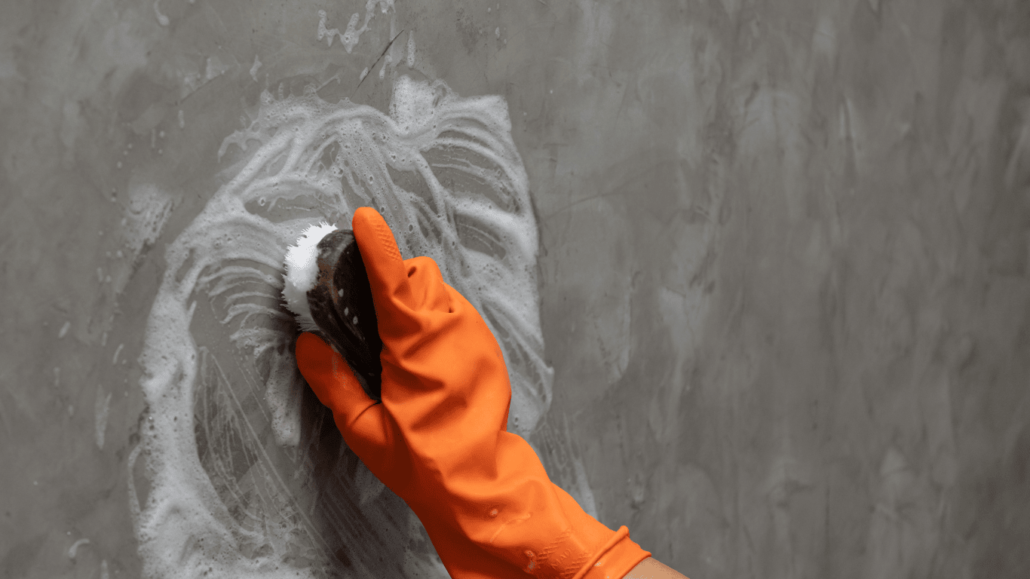
Before you start painting or patching, give all the walls and trim a good cleaning or sanding. This helps to get rid of dirt and grease, making the paint stick better. Shine a bright light on the wall to spot any issues on the surface.
If there are any nail pops or bumps on the walls, smooth them out. Fill up holes and cracks with spackle or patching compound, and then sand everything down until it’s nice and smooth.
Don’t forget to put on a coat of primer over the patched-up areas before you start painting.
Take off the outlets and switch plates for a thorough wall prep.
Step 7: Mix the Paint
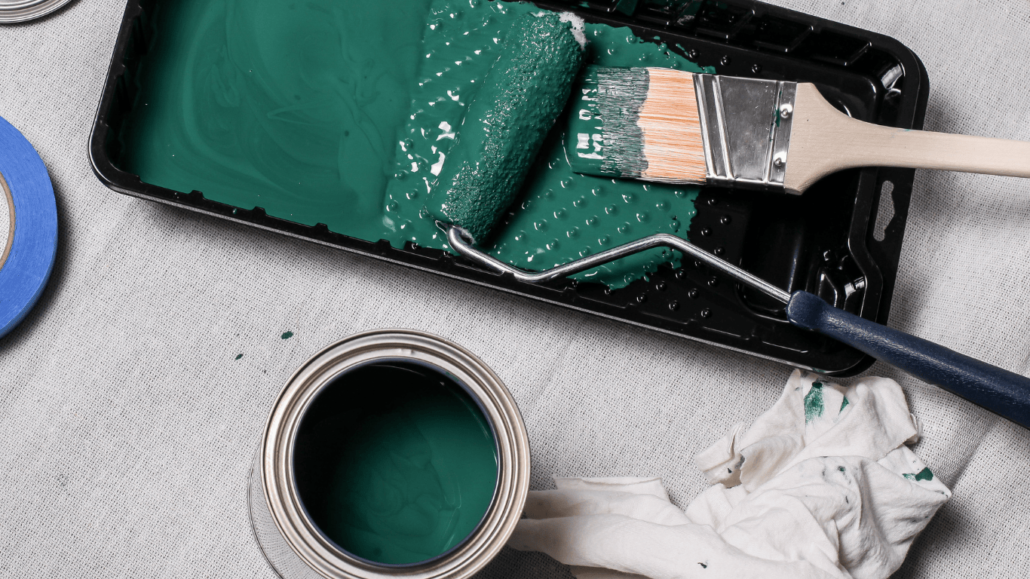
Stir your paint like a wizard. Consistency is key for that perfect color. Got more than one can? Mix them up for a uniform hue.
Pro Tip: Thoroughly stir the paint for at least five minutes.
Step 8: Paint Like a Boss
Before you unleash the color, plan your approach. Begin by working from the top down, starting with the ceilings. If you’re planning to make a statement with a bold focal wall, consider painting the adjacent light-colored walls first. When transitioning from dark to light hues, factor in three coats: a primer, followed by two coats of the new color to ensure a flawless finish.

Take it one step at a time, focusing on individual walls. Use a brush for detailed work along the molding and corners, while a roller covers the main expanse of the wall. Opt for long strokes in a W pattern with the roller to ensure thorough coverage and avoid unwanted roller marks. Once the wall is dry to the touch, it’s ready for the second coat.
If you’re tackling the trim, remove painter’s tape and wait for the walls to dry before reapplying it. Start by addressing the trim closest to the ceiling, then move on to door and window frames, finishing with the baseboards. This strategic approach guarantees a polished and professional outcome for your painting project.
Step 9: Let It Breathe
No one likes watching paint dry. Crack open those windows, switch on fans – keep the air flowing for a breezy, speedy dry.
Step 10: Tidy Up Like a Pro
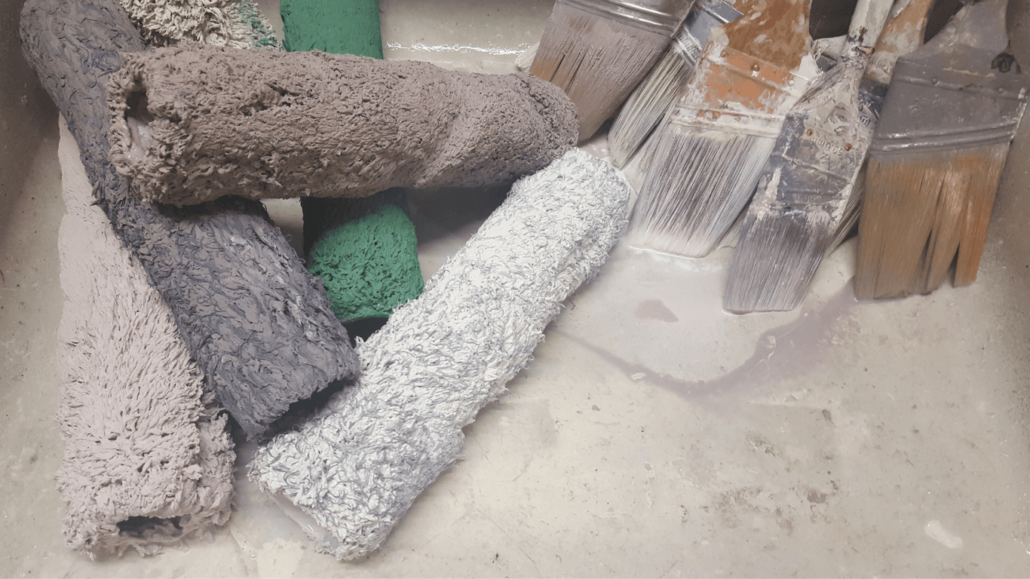
You’re almost there! Peel off the painter’s tape and gather up the drop cloths, making sure any spills or splatters are completely dry before you relocate them. For brushes used with latex- and water-based paints, give them a good cleaning with soapy water. If you’ve been working with oil-based paints, you’ll need mineral spirits for proper cleaning. Use a painter’s brush to not only clean but also reshape the bristles. When it comes to reusing roller covers, the curved edge of a 5-in-1 tool is your go-to for removing excess paint under running water.
Your home is your canvas – make it a masterpiece! Happy painting!
If you ever find yourself needing professional guidance or assistance, don’t hesitate to tap into the expertise of Patrick’s Painting & Home Improvement. Transforming your space has never been easier!