
Why Prep Work is Important Before Painting
Imagine this: you’ve picked the ideal color palette, gathered the highest quality paints, and are ready to transform your living space. However, skipping or neglecting the crucial step of preparation could turn your dream project into a nightmare.
Prep work, short for preparation work, refers to the essential steps and tasks that need to be completed before starting a particular project, such as painting. In the context of painting and home improvement, prep work involves getting the surfaces ready for the application of paint.
Here’s why prep work is the backbone of a flawless paint job.
The Foundation Matters
Much like constructing a sturdy building, a flawless paint job begins with a solid foundation. Prep work involves thoroughly cleaning and repairing surfaces before painting. This step ensures that your chosen paint adheres properly, preventing peeling, cracking, or bubbling down the line. It’s like giving your walls a fresh start, creating the perfect canvas for your chosen colors to shine.
Say Goodbye to Imperfections
We all want our homes to look magazine-worthy, and proper prep work is the secret to achieving that polished finish. By taking the time to fill in cracks, patch holes, and sand rough surfaces, you’re smoothing out imperfections that could mar the final result. The meticulous approach to prep work is what sets apart a professional-looking paint job from a rushed DIY attempt.
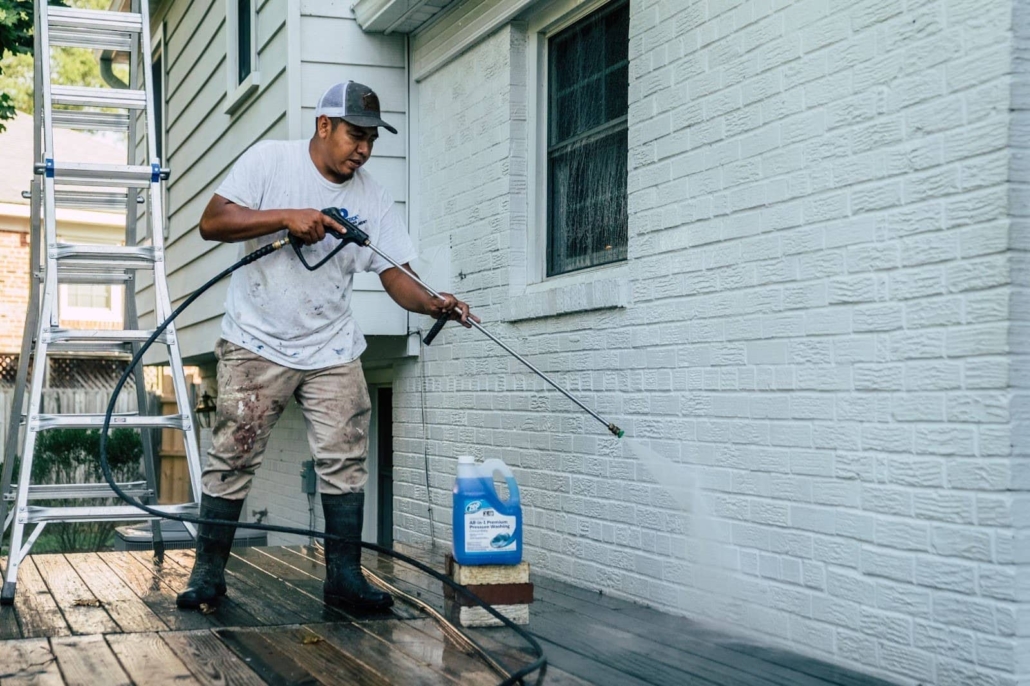
Power Washing for a Clean Slate
For exterior surfaces, power washing is a game-changer. It blasts away dirt, mold, mildew, and other grime that may have accumulated over time. Power washing not only cleans the surface but also prepares it for painting by ensuring better adhesion and a smoother finish. It’s a powerful step to rejuvenate your home’s exterior before applying that fresh coat of paint.
Primer: The Unsung Hero
Ever wonder why professional painters always start with a primer? That’s because it’s the unsung hero of the paint world. Primer creates a smooth and uniform surface, enhances paint adhesion, and provides a consistent base for your chosen color. Skipping this step may result in uneven color absorption and an overall patchy appearance – definitely not the look you were going for!
Time and Money Saved in the Long Run
It might be tempting to skip prep work and dive straight into the fun part, but trust us – it’s a decision you’ll likely regret. Investing time in preparation can save you both time and money in the long run. Properly prepared surfaces are less prone to damage, meaning your paint job will stand the test of time. Avoiding the need for touch-ups or repaints down the line not only saves you money but also preserves the integrity of your home.
Professional Results, Every Time
Prep work is the secret weapon of professional painters. It’s the key to achieving that flawless finish you see in design magazines and home improvement shows. By following the meticulous steps of cleaning, repairing, power washing, and priming, you’re setting the stage for a paint job that looks like it was done by the experts.
How to Prep for Painting
Step 1: Gather Your Materials and Tools
Before starting any prep work, ensure you have all the necessary materials and tools, including:
- Cleaning supplies: Mild detergent, sponges, soft brushes
- Repair materials: Filler, patching compound, putty knife
- Sanding tools: Sandpaper, sanding blocks
- Power washer (for exteriors)
- Primer
- Masking tape
- Drop cloths or plastic sheets
- Safety gear: Gloves, safety glasses
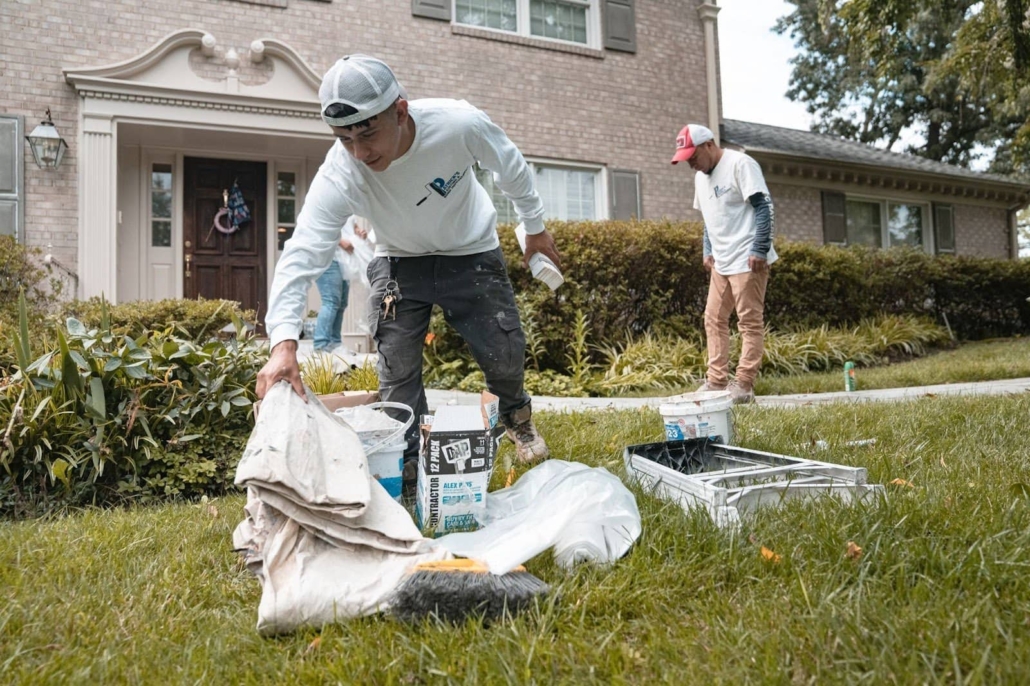
Step 2: Clear the Area
Remove furniture, decorations, and any obstacles from the painting area. This provides you with a clear and unobstructed workspace, making it easier to perform the necessary prep work.
Step 3: Cleaning
Interior Surfaces:
- Dust all surfaces using a microfiber cloth.
- For walls and ceilings, use a mild detergent solution to clean away any grease or grime. Rinse with clean water.
Exterior Surfaces (Power Washing):
- Adjust the power washer to the appropriate pressure for the surface.
- Start at the top and work your way down, ensuring thorough cleaning of the entire exterior. Pay attention to areas with mold or mildew.
Step 4: Surface Repair
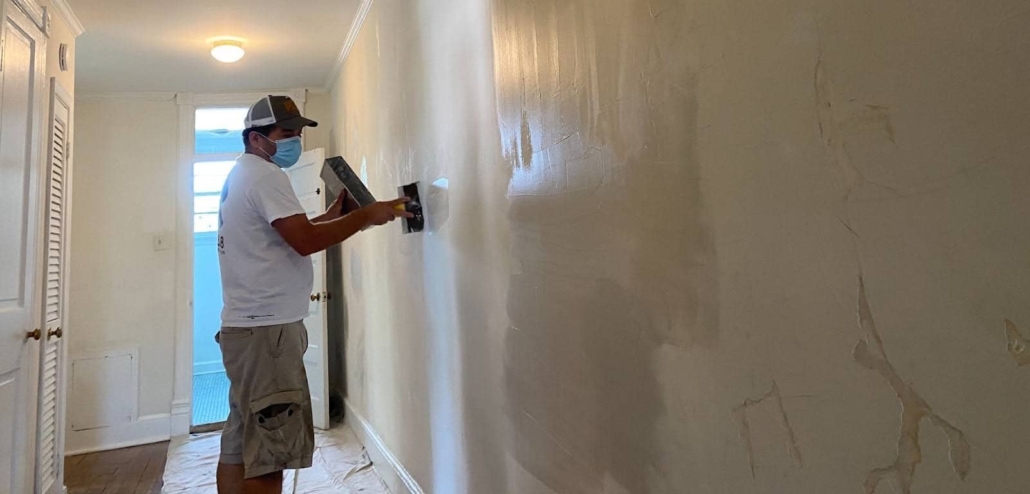
- Inspect the surfaces for imperfections: Cracks, holes, and dents.
- Use filler for small cracks and holes.
- For larger holes or damaged areas, apply a patching compound.
- Allow sufficient drying time as per the product instructions.
Step 5: Sanding
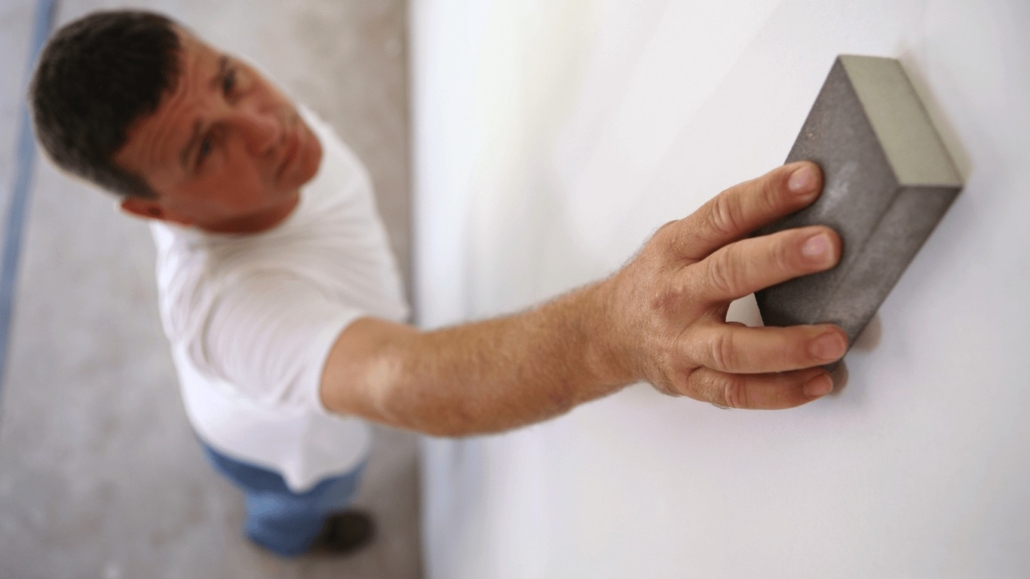
- Use sandpaper or a sanding block to smooth out repaired areas.
- Sand any rough spots or uneven textures on the surfaces.
- Wipe away dust with a clean, damp cloth.
Step 6: Masking and Taping
- Cover areas that should not be painted using masking tape.
- Use drop cloths or plastic sheets to protect floors and furniture.
- Ensure that the masking is precise to achieve clean lines.
Step 7: Primer Application
- Select a primer suitable for the surface type (e.g., latex primer for drywall, oil-based primer for wood).
- Apply an even coat of primer to the surfaces using a brush or roller.
- Follow the manufacturer’s instructions for drying time.
Step 8: Final Inspection
- Inspect the surfaces for any missed imperfections or areas that need additional attention.
- Touch up as needed with filler, sanding, or additional primer.
Step 9: Clean Up
- Dispose of any used materials properly.
- Remove masking tape and drop cloths carefully.
- Clean your tools promptly for future use.
Step 10: Wait for Everything to Dry
Before applying the final coat of paint, ensure that all surfaces are completely dry. This step is crucial for achieving optimal paint adhesion and a smooth finish.
As we wrap up this prep guide for your painting project, envision the canvas you’ve readied for your chosen colors. The true beauty of any paint job lies not just in the colors but in the sturdy base crafted through prep. Whether DIY or with pros, the time and effort invested in prep ensure a visually stunning and enduring result.
If you find yourself yearning for a helping hand or expert guidance in this artistic journey, Patrick’s Painting & Home Improvement is here for you. With 16 years of dedicated service, we bring a wealth of experience and a passion for transforming homes into true masterpieces. Don’t hesitate to reach out if you need assistance, advice, or the skilled touch of professionals who understand the intricate dance between preparation and perfection. Your dream home is just a brushstroke away, and we’re here to make it a reality. Happy painting—let’s make your space truly shine!


 Image: Freepik