How to Properly Prepare Surfaces for Painting
Painting can transform a room from drab and boring to exciting and fun for anyone who walks through. Unfortunately, the average person isn’t fully trained and aware of all of the work that goes into making this space a success.
Whether you’re adding a fresh coat of paint to welcome a new family member or you’re selling your home and want to create a blank canvas for the next homeowners, how you paint can make a huge difference in the perception of any room.
This is how to prepare surfaces for painting and create a gorgeous room properly!
Why Preparation Matters
Painting can seem straightforward and simple if you’ve never done it before. After all, how difficult could it be to simply slap some color on a wall? This mindset is what leads to people getting halfway through painting the first room in their home and realizing they’ve made countless poor mistakes.
Preparing any wall or surface will allow the paint to absorb fully, go on smoothly, and dry as evenly and quickly as possible. Taking these steps will ensure you don’t have to go in later and spend more time fixing problems with it.
1. Deep Clean the Surface and Sanding.
Deep cleaning your walls before you paint is key! If you paint while there’s dust and debris on your walls, that’s going to mix into your paint and leave it lumpy and uneven looking. Nobody wants to put dust and pet dander permanently into their walls. Simply wiping it down with a damp cloth is usually enough to take care of this issue, but many have turned to ‘magic eraser’ sponges to help remove dust and unwanted texture. Sanding a surface will allow for the paint to adhere much better by opening up the pores of a substrate. We recommend medium to fine sandpaper depending on what you are sanding and how rough or smooth the surface is.
2. Repair Cracks and Uneven Areas

Whether you have indentations and nail holes in your walls or there’s a hole where an outlet used to be before you removed it, you need to fill and repair these spaces. There are countless options for everything from cracks to gaps, but make sure you know the reason for these imperfections. Large cracks could be a sign there’s something wrong with the foundation, which you should check with a structural engineer. Most cracks are from the home settling and are easy to fix with mesh tape and a few coats of drywall compound.
3. Pick a Color You’ll Enjoy
In 2023 we’ve seen a huge boost in the popularity of more Earthy-appearing colors to make rooms feel connected to nature. From Swiss coffee paint color to muted sage green, there are countless options for anyone who wants their home to feel as soothing as possible. How do you pick what color will work best for your space?
An awesome tip many homeowners are following these days is editing a room to fit the colors they’re trying out. Most paint companies also list their colors online, which lets you take them into free editing software like GIMP to see what they’ll look like on your walls. You can also order peel-and-stick samples from Sherwin Williams for $3.50 a piece, which allow you to move the sample around with different light while not being stuck with a small container of paint you will never use again.
4. Remember Ventilation
The last thing you want to do is trap yourself or loved ones in a room with a lot of paint fumes. This can make you dizzy, can affect your breathing, and is generally a health hazard, even in high-quality paints.
Make sure to get as much ventilation into the room as possible, and consider running fans to push the fumes out of the room as you work.
Always opt for low to No VOC paint.
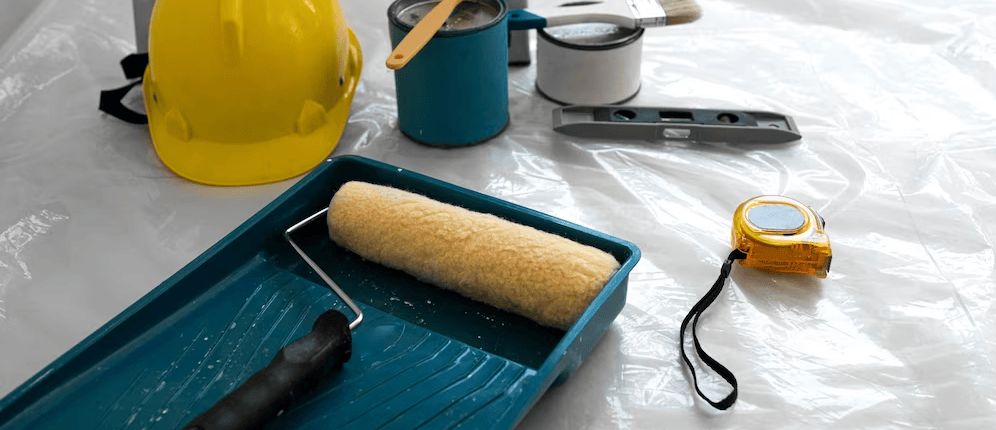
5. Get the Right Tools
From the many different types of drywall corner beads to picking the perfect brush for the job, you need to carefully consider your tools. Large roller brushes are a great place to start since they help you cover more space while you paint, but you should also make sure to get paint pans, hand brushes for detail work, paint remover, tape, and even a pour spout for your paint buckets.
Working with the right tools will save you a lot of trouble and heartache down the road. Nobody wants to dip a paintbrush into their new paint only to find out it’s low quality and put a lot of loose fibers on your walls.
6. Tape and Protect Your Space
If you want to avoid needing paint remover, it’s important to carefully plan and protect the space you’re painting. Tape is the most important thing you can do. This will let you safeguard areas like molding, light switch covers, and more, all while being able to peel it off and create a clean line.
If you want to be safer, consider removing faceplates altogether instead of taping around them.
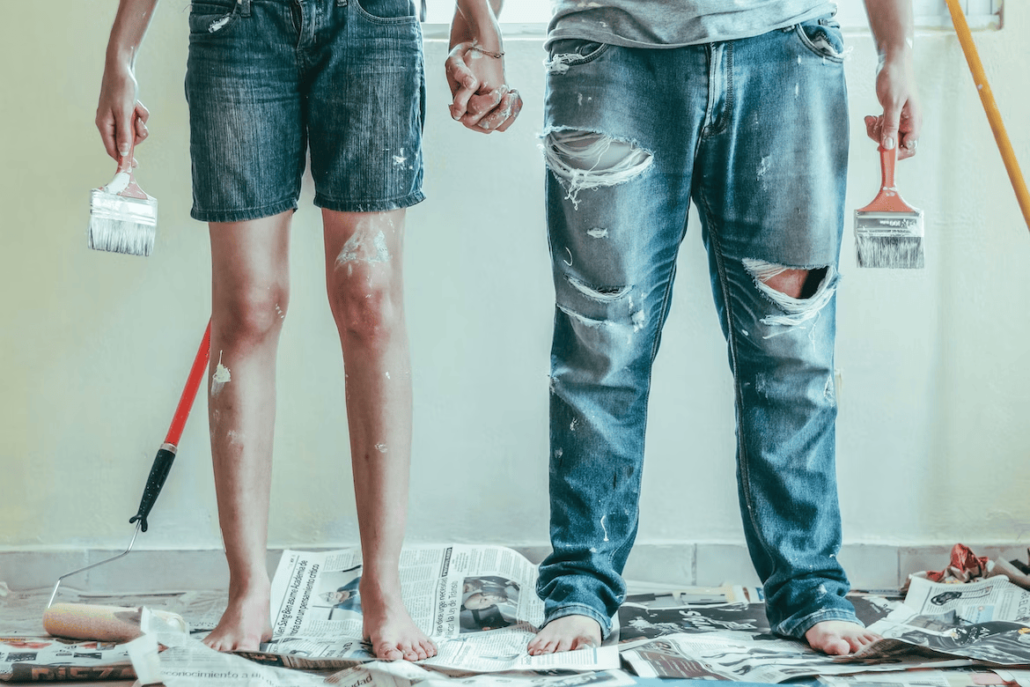
Invest in plastic drop cloths to protect your floors and plastic for your furniture! If you can, consider moving out the more expensive and larger pieces of furniture so you don’t have to dance around or risk getting paint on them.
Painting Doesn’t Have to be a Chore
Whether you’re painting to create a fresh slate for future buyers, or you just move in and want to make a comfortable home for yourself, there’s no wrong reason to give a room a fresh paint makeover. Work with a great company, like Patrick’s Painting, if you want professional results without all of the struggles.
Andrew Wesley
Andrew Wesley is a freelance writer that loves sharing his knowledge and expertise on painting projects and materials. He lives in Atlanta, Georgia where he enjoys spending time with his wife and working on projects in his spare time. Andrew’s work as a freelance writer can be found on Building Product Advisors, a new construction industry resource launching in Fall 2022.


 https://unsplash.com/photos/178j8tJrNlc