Drywall Repair
Got holes in the wall? Well, let me teach you how to fix them with Patrick’s Painting expert drywall repair system.
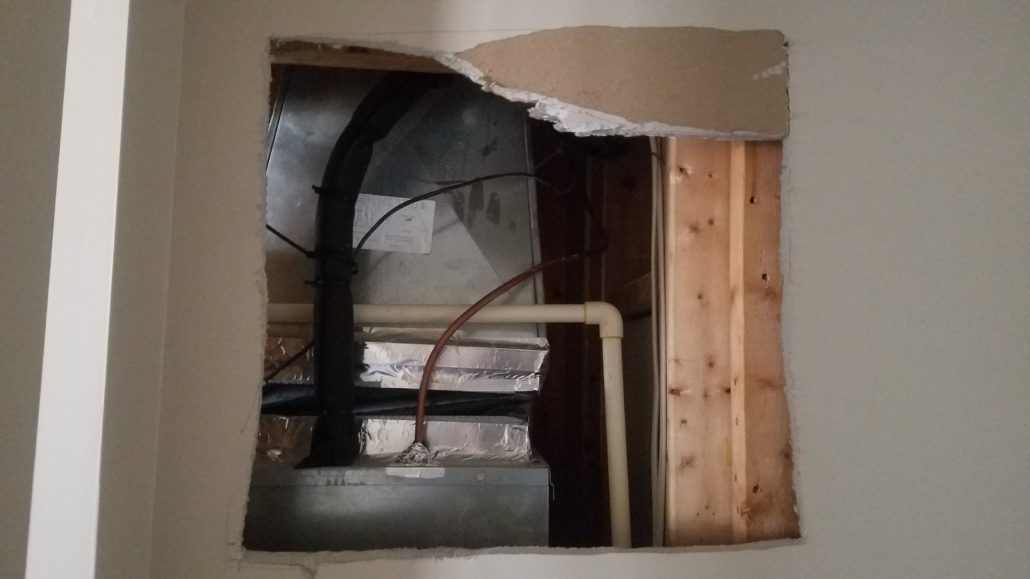
A lot of people have had drywall holes in their ceilings or walls made by kids, dogs, themselves, other contractors, and angry men after Cowboys’ playoff games.
It’s a big eyesore but quite easy to fix. I’ll explain how to do this yourself through the Patrick’s Painting drywall repair process.
Before getting started, you need to make sure you have all the right tools to make this drywall repair as easy as possible for yourself (listed below are the tools you will need).
- Cover all the furniture in the area where working with plastic and lay down drop clothes, it’s going to get a little messy.
- Using a measuring tape and drywall knife, make the hole into a square. Each side opposite of itself should measure the exact same length.
- Measure your hole and cut a piece of drywall to that exact measurement; watch your fingers. You will need to make sure you have the correct thickness of drywall before installing, the most common are 3/8 and ½ inch drywall.
- Before installing the drywall, install two pieces of wood on the opposite sides of each other behind the drywall. Using 1-inch drywall screws, secure the wood to the existing drywall. We like to use standard 2×4’s for our wood but almost any scrap wood will work.
- Once you have installed the wood, install the piece of drywall to the wood using drywall screws.
- Apply mesh tape where the new piece of drywall meets the existing drywall on all four sides.
- Apply drywall compound to this area; this is where it gets messy for rookies. You will need to apply two to three coats of the compound before you have completely blended the new drywall with the old drywall. Let the compound dry before you add another coat
- When finishing the drywall compound, leave it as smooth as possible as this will eliminate additional time sanding/scraping in between drywall coats. After this area is dry, sand smooth, and use your hand to feel for any imperfections.
- Wipe any drywall dust off with a rag and prime the area with an oil or latex primer. After the primer is dry, put the finish coat on and start the best part- clean up.
If you need more help with your project, please don’t hesitate to contact me – we’d love to help.
Tips
- After installing the mesh tape, spray oil primer over the mesh tape for better adhesion of tape.
- To cut down on dust, try wet sanding, you can do this by wetting a rag, sanding sponge, or grandpa’s old sock.
- Use fans and a heat gun/hair dryer to speed up the drying process.
- Use a spray can primer once the drywall has been sanded smooth. This will eliminate setting up/cleaning a brush, roller, and bucket. Just don’t use the spray can and heat gun together or you’ll have bigger problems.
- You can use any drywall compound or spackle to finish this area but we prefer to use EZ sand 20 because it dries within 20 minutes, sometimes… (LOL!)
- Make sure you measure twice and cut once, you want the new piece of drywall as tight in there as possible to make smoothing out the compound easier for you.
Tools needed – Mud knifes, Mud pan, EZ 20, Heat gun, Mesh tape, Tape measure, T-square, Square, Straight edge, Utility Knife with a fresh blade, Drywall, Drywall saw, Wood, Sandpaper, Drop cloth, Plastic, Tape, Screw gun, Drywall screws, Pencil, Ladder, Oil primer, Trash bags, Sanding pole, Fans, Vacuum, Rags.
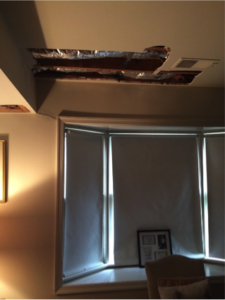
Before
After – painting, paint is still wet
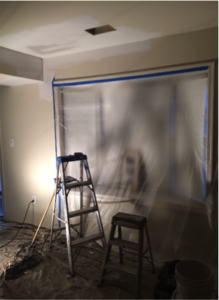
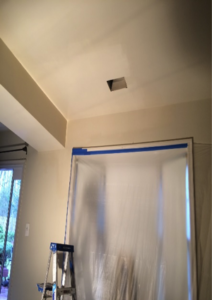
After – 3rd coat of compound